Node templates
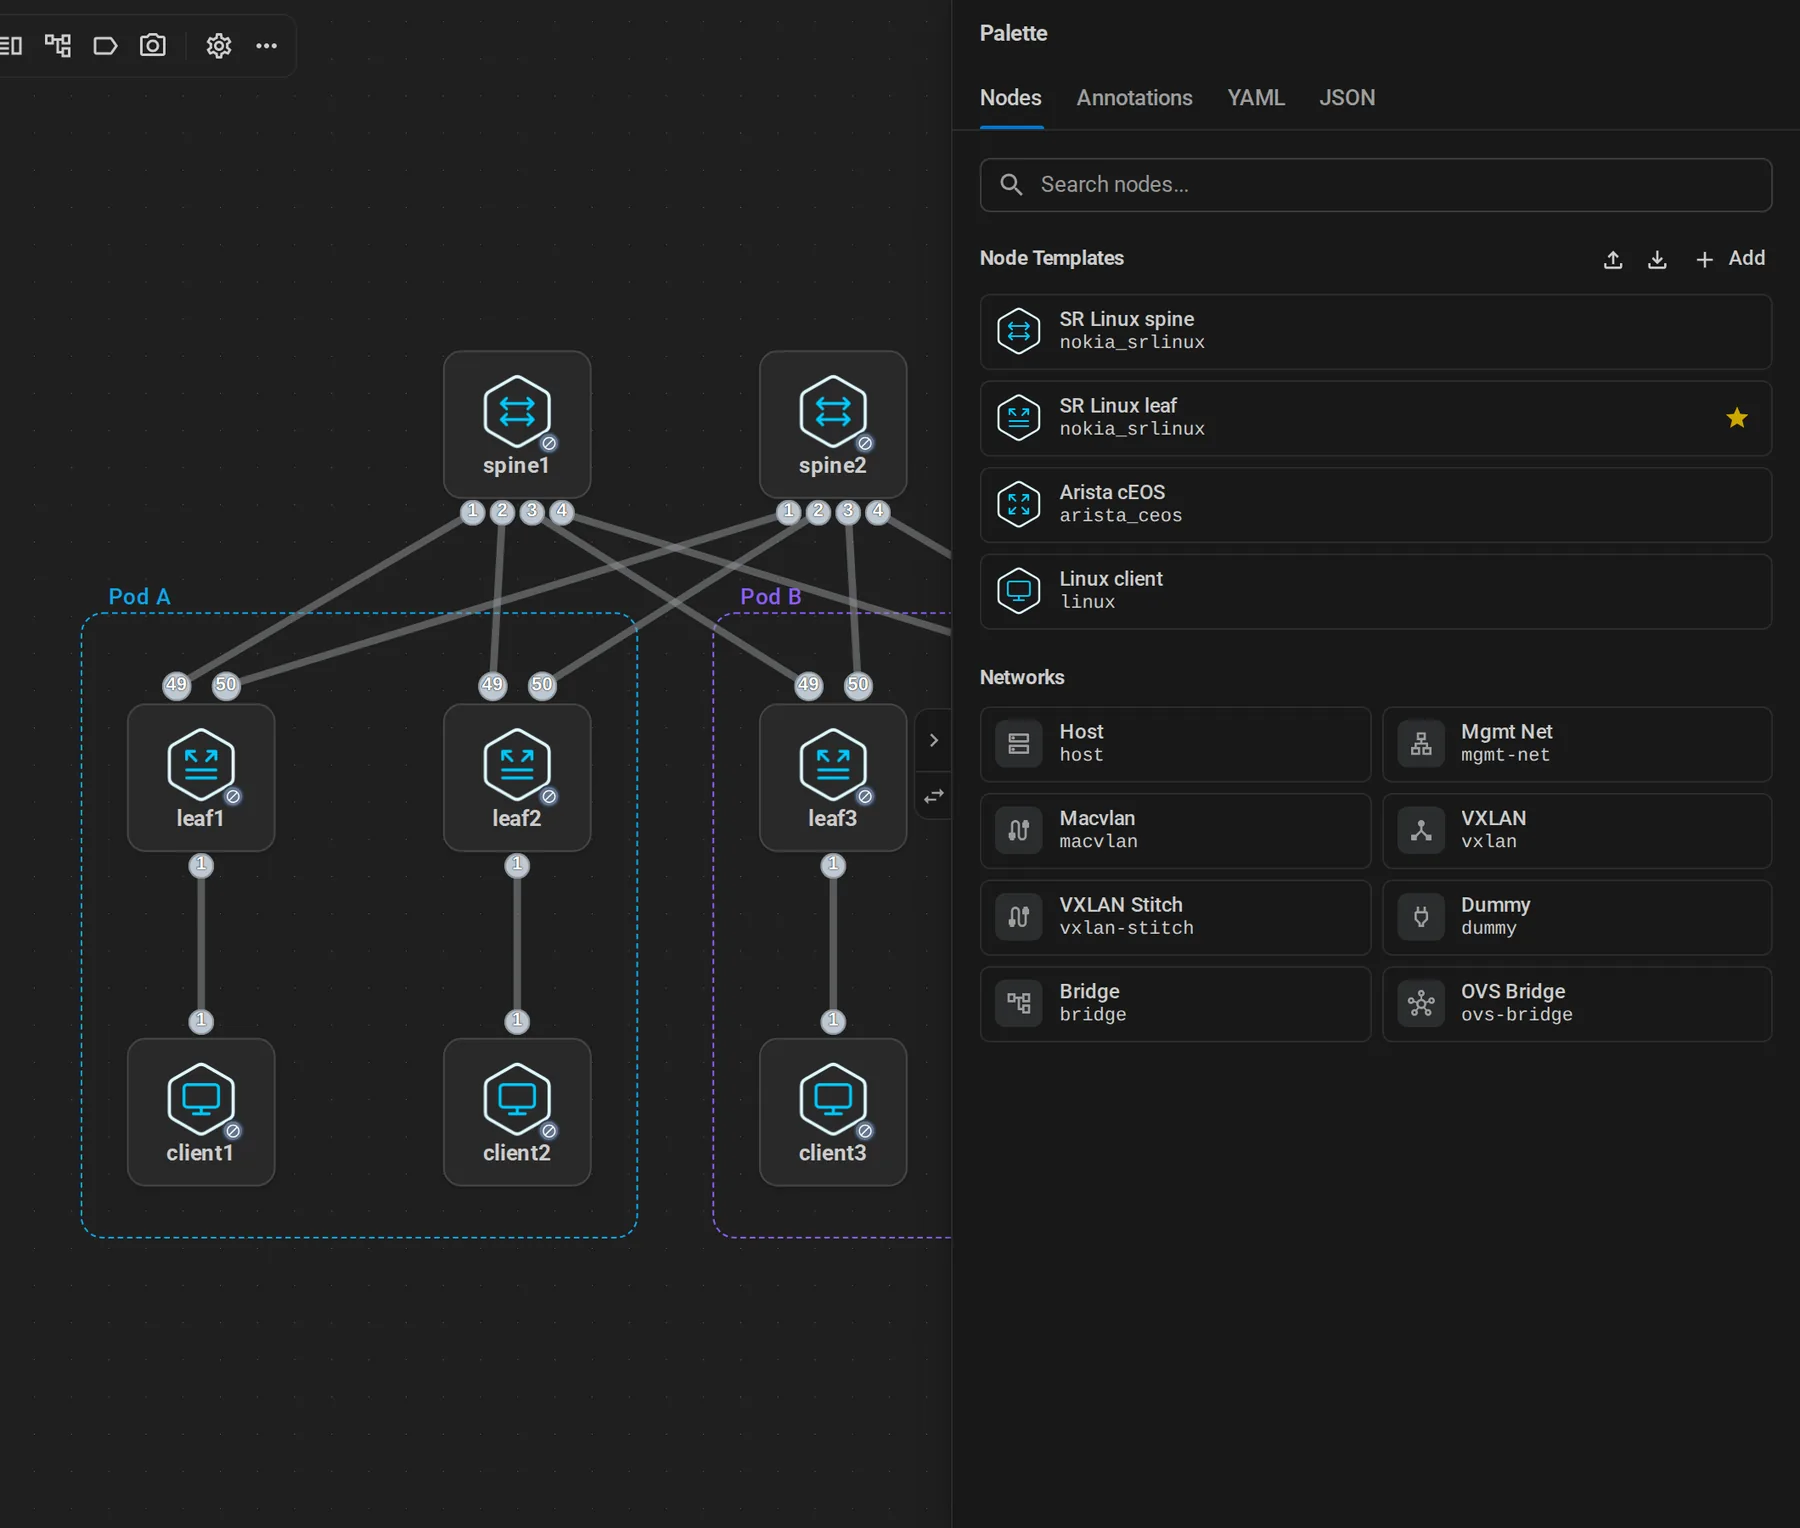
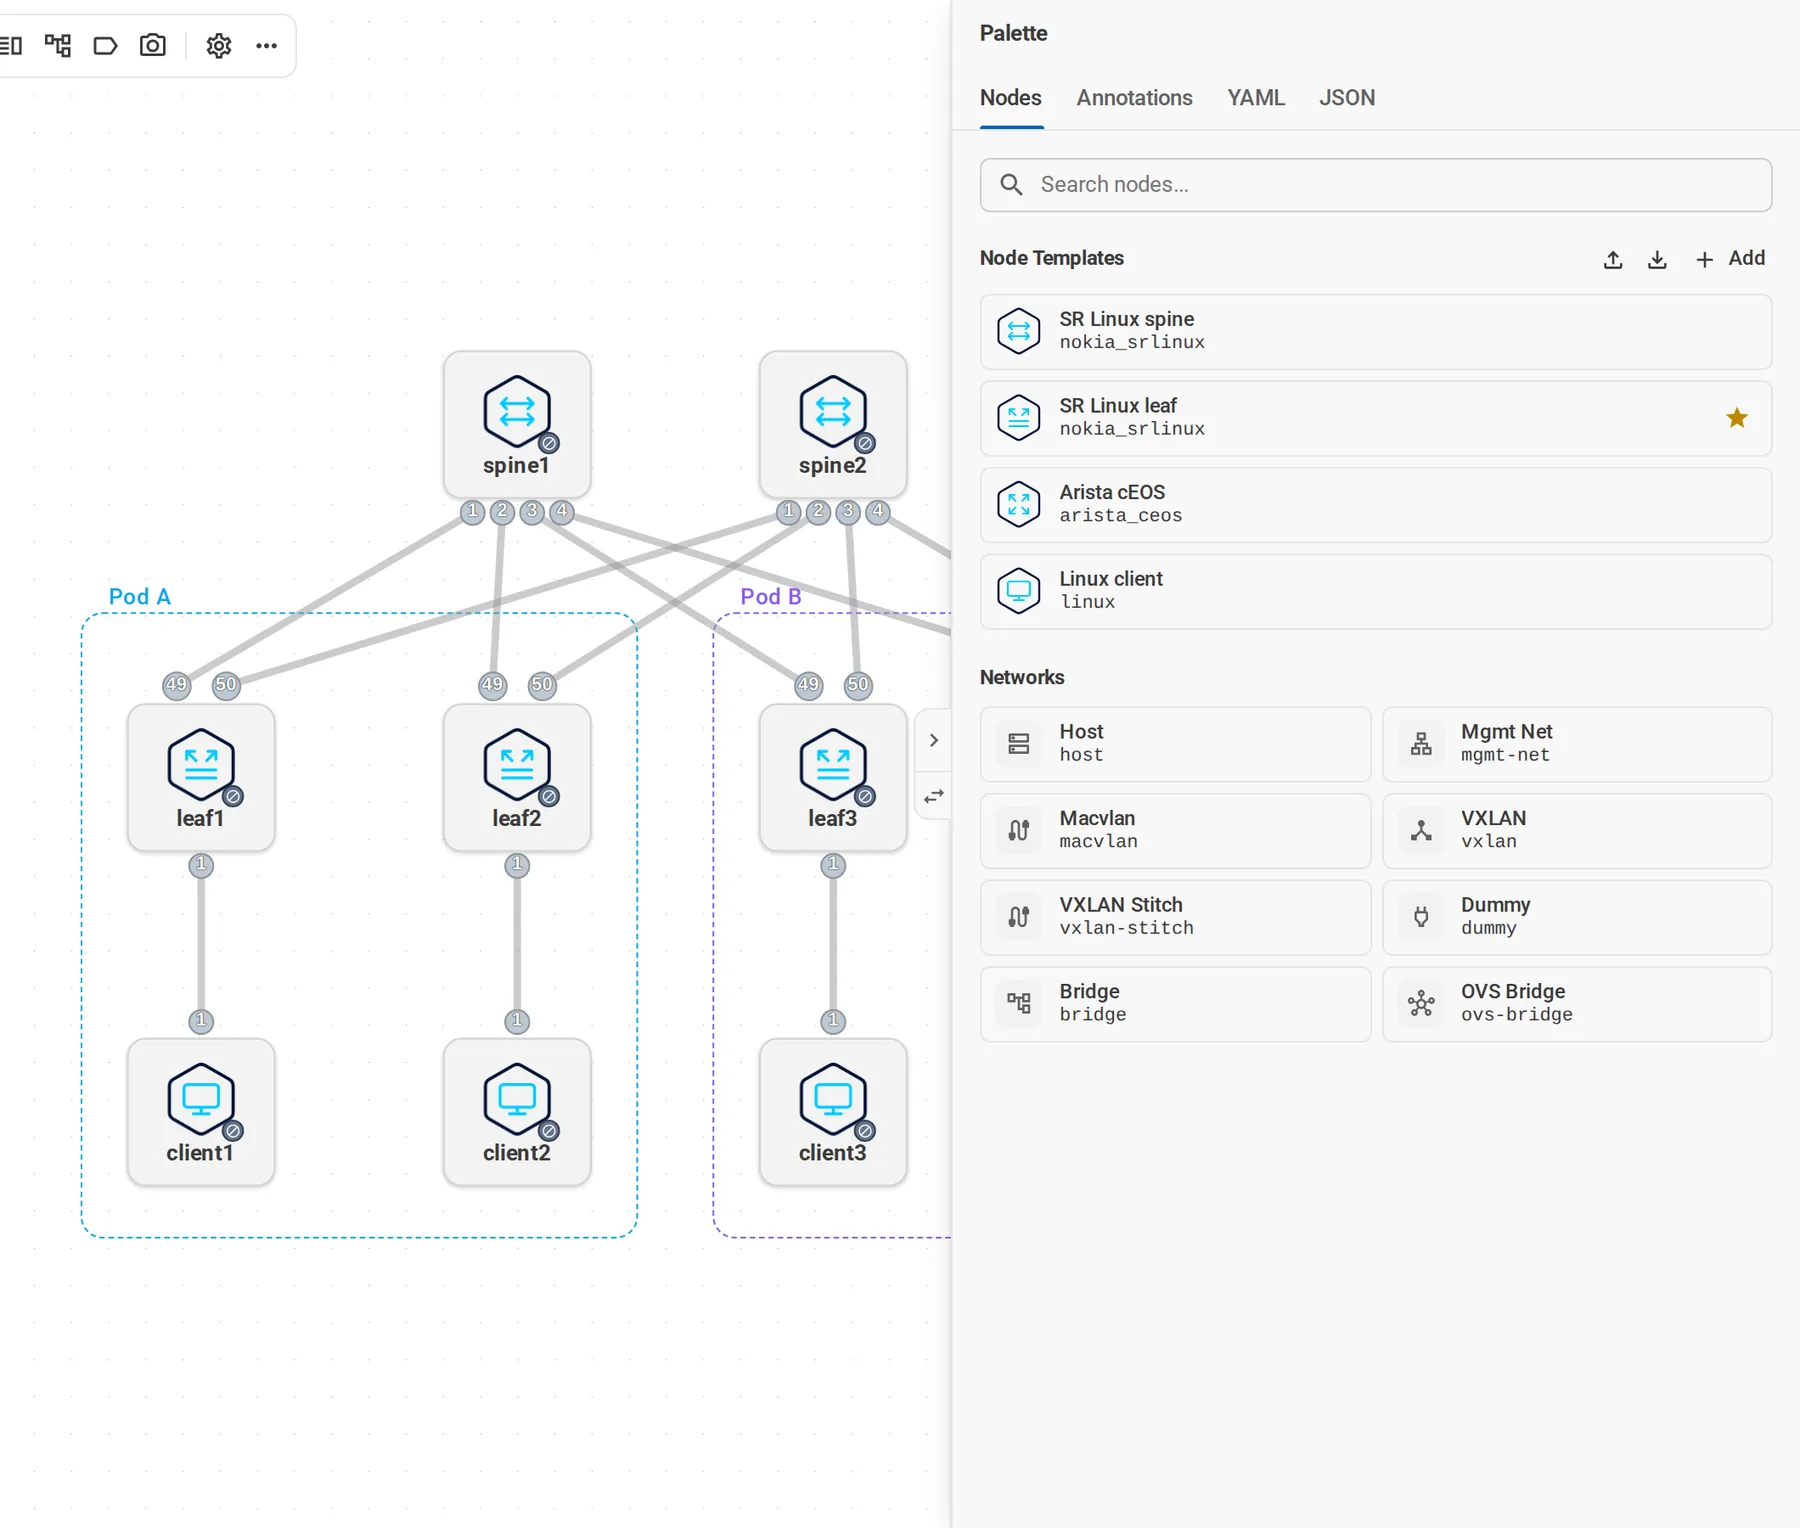
A template is a node you set up once: kind, image, icon, startup config, interface naming. Drag it from the palette and the new node has all of it.
Use a template
Drag it from Node Templates in the Palette to where the node should go. Select the star on a template to Set as default; Shift + click on an empty spot of the canvas then places that one.
A template is only a shortcut. The node it creates is a normal containerlab node in your YAML, and the lab works without the template.
Create a template
Unlock the canvas, open the Palette, and select Add next to Node Templates. Each template card has Edit and Delete buttons. You can fill in anything a node has, plus:
| Field | Does |
|---|---|
| Base name | Prefix for new node names. srl gives srl1, srl2, … |
| Icon and color | How the node looks on the canvas. |
| Interface pattern | How to name interfaces when you connect this node. |
| Default | Use this template for Shift + click. |
Interface patterns
The editor needs to know how a kind names its interfaces. For most kinds it already does. For anything else, set a pattern; {n} is replaced with the next free number.
| Pattern | Interfaces |
|---|---|
eth{n} |
eth1, eth2, eth3, … |
e1-{n} |
e1-1, e1-2, e1-3, … |
eth{n:0} |
eth0, eth1, … (start at 0) |
Gi0/0/{n:2} |
Gi0/0/2, Gi0/0/3, … |
1/1/c{n:1-2}/1,1/1/c{n:5-6}/1 |
1/1/c1/1, 1/1/c2/1, then 1/1/c5/1, 1/1/c6/1 |
{n:start} sets the first number, {n:start-end} limits the range, and commas chain ranges for nodes with split port blocks.
Move templates around
Export templates and Import templates, next to Add, save your templates to a file and load them elsewhere, for example from your VS Code setup into a lab host.
Where templates are saved
| App | Location |
|---|---|
| VS Code | The containerlab.editor.customNodes setting |
| Desktop and web | ~/.clab of your user on each lab host |
| Sandbox | Browser storage |
In the desktop and web apps, templates belong to one user on one lab host. Templates you create on lab1 do not show up on lab2.